AV Installation Checklist for Bay Area Homeowners
Hiring a professional AV installer is only half the job. What you do before they arrive determines how smoothly the project goes and whether you end up with the system you actually wanted. This checklist walks through every step: from measuring your room to gathering paperwork to what you need ready on installation day.
Before You Schedule
The best AV integrators book out weeks in advance. Before you make the call, get these numbers together so you can have a productive first conversation.
Room dimensions: - Length and width (in feet) - Ceiling height (standard 8-foot ceilings behave very differently from vaulted 10- or 12-foot ceilings) - Note any soffits, beams, or dropped ceiling sections that affect speaker placement
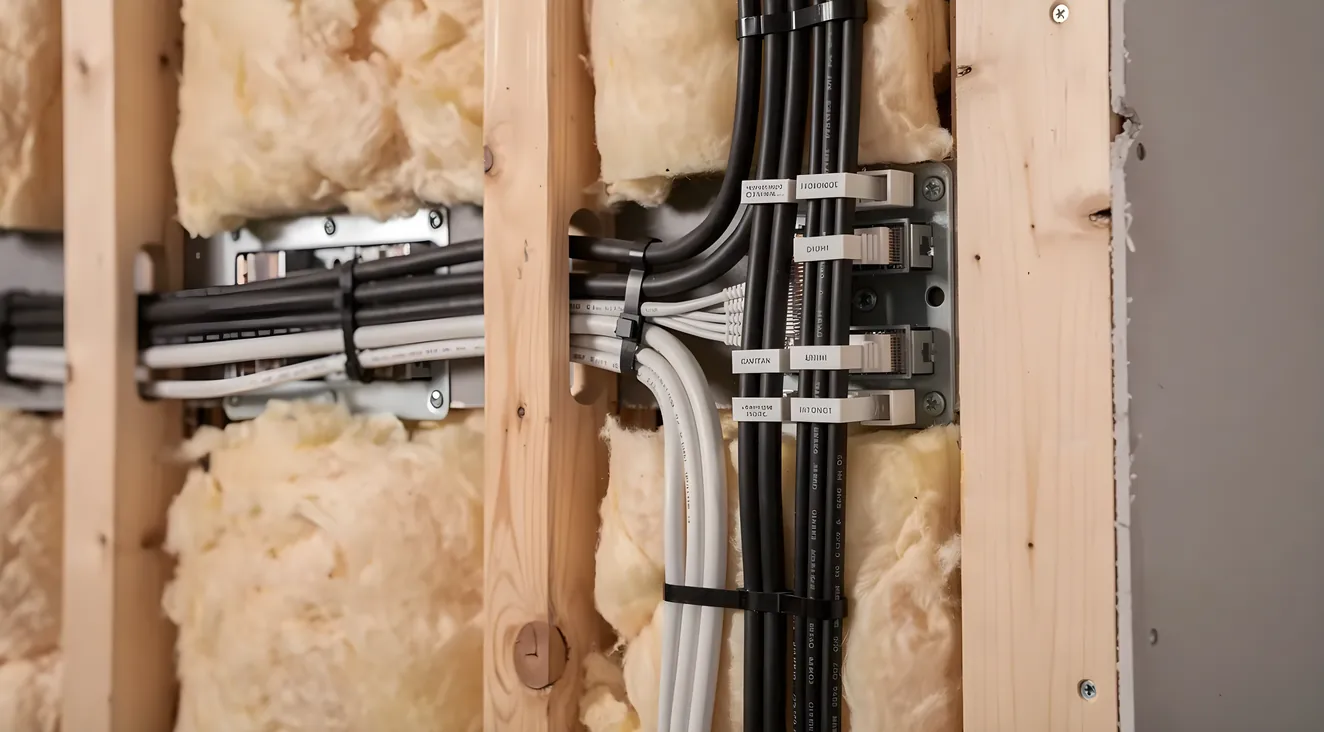
Electrical: - Count existing outlets on each wall and note which are dedicated circuits - Identify where the breaker panel is and how much capacity is available - Mark any existing conduit or wiring access points in the walls
Windows and light: - Note window locations relative to where screens or TVs will be placed - Identify existing blinds, shades, or blackout curtains and whether they are manual or motorized - Time of day when direct sunlight hits the room (afternoon west-facing windows are a common projector killer)
Having these details ready means your integrator can give you accurate pricing and a realistic timeline in the first conversation rather than needing a follow-up visit.
Questions to Answer First
Before you can choose equipment, you need to be clear on how you plan to use the space. Integrators will ask these questions during discovery. Thinking through your answers ahead of time keeps the process moving.
- Primary use: Movie watching, sports, gaming, music, or a mix? Priorities shift significantly depending on your answer. A gaming room puts latency ahead of color accuracy. A music room may not need a display at all.
- Dedicated or multi-purpose? A dedicated home theater allows for full light control, acoustic treatment, and tiered seating. A living room that also serves as a family space requires more compromise on speaker placement and screen size.
- Budget range: Have a firm number before you talk to anyone. Without it, conversations drift toward equipment you may not need or that does not fit the space.
- Projector or TV? Screen size needs and ambient light conditions usually answer this question. Projectors need darkness and throw distance. TVs are more flexible but cap out around 100 inches for most budgets.
- Automation integration: Do you want lighting, blinds, HVAC, and AV on a single control system? Adding automation later is possible but costs more than building it in from the start.
Room Preparation Checklist
You do not need to do any construction before your integrator arrives, but a prepared room prevents delays and extra charges for time spent clearing, measuring, or troubleshooting your existing setup.
- Clear the room of furniture, artwork, and any wall-mounted items that will need to come down
- Mark stud locations with painter's tape so your integrator can see the structure without pulling out a stud finder repeatedly
- Verify your electrical panel has capacity for the added load (a qualified electrician can confirm this if you are unsure)
- Note your internet router location and confirm whether you want hardwired ethernet runs as part of the project
- Check HVAC vent positions so equipment racks and speaker placements can work around forced-air paths
- If you have any existing AV equipment you plan to keep, have it out and accessible for review
Documentation to Gather
Having the right paperwork on hand prevents delays and helps your integrator avoid duplicating work or speccing incompatible equipment.
- Floor plan or sketch: Even a rough hand-drawn diagram with measurements helps. If you have architectural plans from a renovation, pull those.
- Room photos: Take photos from each corner of the room, plus ceiling and floor shots. Natural light and existing finishes affect speaker and display choices.
- Existing equipment list: Model numbers for any gear you want to keep (receivers, speakers, streaming devices, cable boxes). Your integrator needs to know what they are working with.
- Warranty information: For any current equipment you plan to integrate, have the warranty documentation available so your installer knows what can be opened or modified without voiding coverage.
- HOA or condo rules: If applicable, check these before scheduling. More on this below.
Bay Area Specific Considerations
The Bay Area adds a few layers of complexity that homeowners in other markets do not always have to navigate.
Permits: Any new electrical circuit or significant wiring work typically requires a permit through your city's building department. This applies in San Francisco, Oakland, San Jose, and most incorporated cities in the region. Permit timelines vary widely, from a few days to several weeks depending on the city and project scope. Ask your integrator whether they handle permits or whether you need to coordinate separately.
HOA and condo association rules: Many Bay Area condos and newer planned communities have restrictions on exterior-facing modifications, satellite dish placement, and even the routing of low-voltage cables through shared walls or ceilings. Get written approval before work starts. Some HOAs require you to use approved contractors.
Parking and equipment access: Bay Area job sites are not always installer-friendly. If you live in a San Francisco flat, a hillside property, or a high-rise condo, confirm parking access and elevator availability before scheduling. Large equipment (screen frames, equipment racks) needs clear path from the curb to the installation room. Flagging this early prevents a same-day scramble.
Noise restrictions: Most Bay Area cities and many HOA communities restrict loud work to weekday daytime hours. Drilling and speaker testing can run loud. Confirm local ordinances and any HOA noise rules with your installer so they can schedule accordingly.
Day-of Checklist
Installation day goes faster when the space is ready and the right people are reachable.
- Clear a direct path from your entry point to the installation room
- Secure pets in a separate area for the duration
- Set the thermostat to a moderate temperature. Installers working in a small room with equipment running will be there for hours.
- Have your Wi-Fi password written down and available
- Designate one point of contact who will be home and reachable throughout the day for decisions on placement, cable routing, and any surprises that come up mid-install
- If you have parking restrictions, reserve a spot or provide a visitor pass in advance
Planning an installation in the Bay Area? Browse our directory of local AV integrators or read our guide on how to choose the right AV integrator for your project. For homes that need structured cabling, see our home theater wiring guide. You can also browse all local installers on our home page.