Home Theater Setup Guide for Bay Area Homeowners
Setting up a home theater in the Bay Area comes with its own set of considerations. Homes here tend to run smaller than the national average, outdoor noise from BART, traffic, and neighbors is ever-present, and open floor plans are common in newer builds. None of that stops you from building a genuinely great system. You just need a plan before you buy anything.
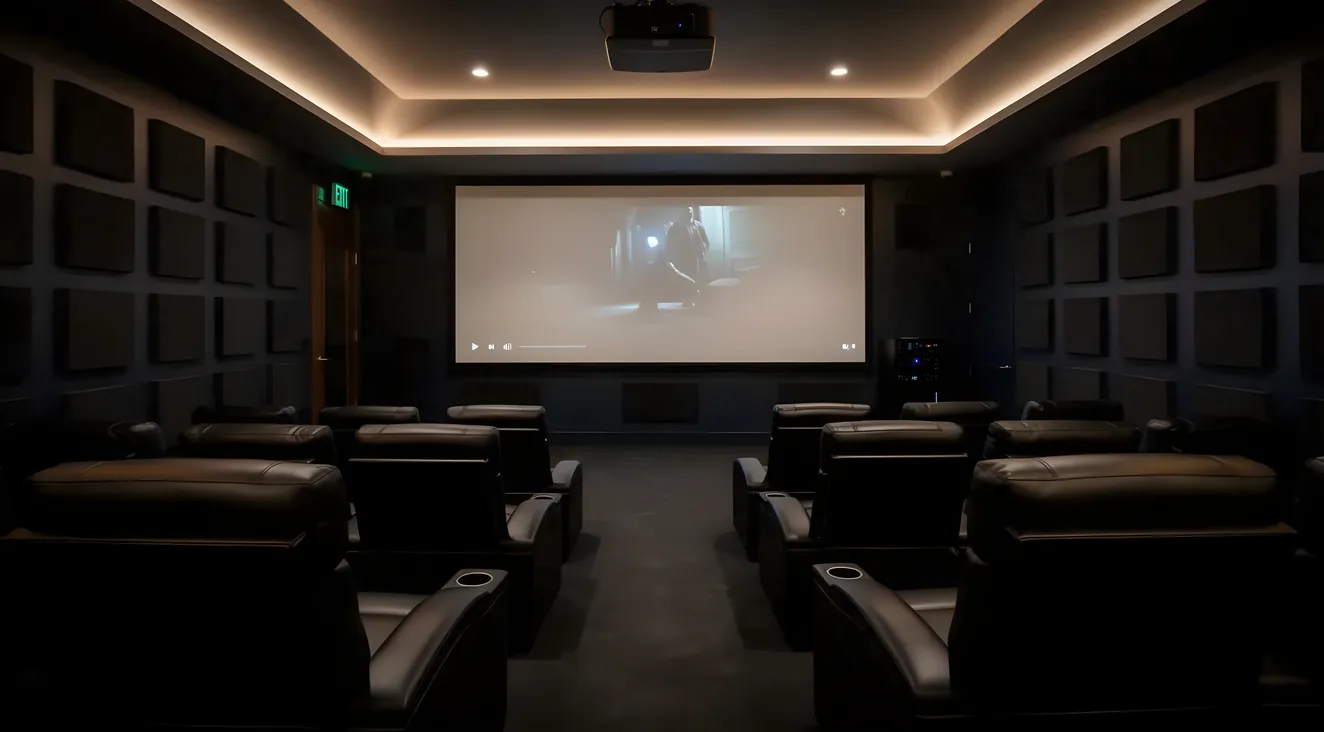
This guide walks you through each stage, from picking the right room to calibrating your final setup.
Step 1: Choose Your Room
Room selection is the most important decision you will make. No amount of equipment budget can fix a bad room.
Common options in Bay Area homes:
- Spare bedroom: Usually the best starting point. Four walls, a closable door, and dimensions that are often workable. Rectangular rooms with a 1.5:1 to 2:1 length-to-width ratio tend to behave well acoustically.
- Bonus room or loft: Good square footage but often open to the rest of the home on one side, which limits bass containment and sound isolation.
- Garage conversion: Popular in the Bay Area where basements are rare. Concrete slab provides excellent isolation. You will need to address thermal comfort, ventilation, and potentially permit requirements before the fun begins.
- Basement: Uncommon in the Bay Area due to earthquake engineering and shallow soil. If you have one, it is acoustically ideal: buried walls absorb external noise and contain bass.
What to evaluate:
- Dimensions: Avoid square rooms. They amplify bass frequencies unevenly, creating boomy, undefined low-end.
- Light control: Projectors require near-blackout conditions. Windows facing west or south are a challenge without quality blackout shades.
- Noise isolation: Interior rooms away from street noise and HVAC equipment are preferable. A room over a garage or on a concrete slab is a head start.
- Proximity to living areas: High volume levels during late-night viewing will carry through shared walls. Insulation upgrades or a door with a proper seal help here.
Step 2: Define Your Budget
Budget discipline before equipment shopping prevents the most common home theater mistake: spending heavily on a display and neglecting audio, which accounts for 70% of the cinematic experience.
Rough budget tiers to consider (equipment only, before installation):
- $3,000 to $8,000: Mid-range projector or large TV, 5.1 surround receiver, bookshelf or satellite speakers, a capable subwoofer. Solid performance for a dedicated room.
- $8,000 to $20,000: 4K laser projector or reference-grade TV, separates (pre-amp plus amplifier), floor-standing speakers, dual subwoofers, Atmos-capable setup.
- $20,000+: Reference systems, custom screen, in-wall and in-ceiling speaker arrays, acoustic treatment designed by a professional.
See our home theater cost guide for a detailed breakdown of where Bay Area homeowners typically spend and where budget goes furthest.
Set your number before walking into any showroom or adding anything to a cart. It is remarkably easy to justify upgrades once you start listening.
Step 3: Plan the Layout
Layout planning on paper saves money and avoids pulling speaker wire through walls twice.
Viewing distance to screen:
For a 4K display, a useful starting point is 1.5 times the diagonal screen size. A 120-inch screen works well from roughly 12 to 15 feet. For full-resolution 4K benefit, you want to be close enough that pixel structure becomes invisible.
Speaker placement:
- 5.1 (stereo + center + two surrounds + subwoofer): Front left and right speakers flanking the screen at ear level when seated, center channel directly above or below the display, surround speakers to the sides and slightly behind the primary seating position at 90 to 110 degrees.
- 7.1: Adds two back surround speakers behind the seating at 135 to 150 degrees. Better for longer rooms.
- Dolby Atmos (7.1.2 or 7.1.4): Ceiling or up-firing speakers added to the 7.1 layout for height cues. Atmos makes the most difference for film and nature content; it requires an Atmos-capable receiver and content.
Subwoofer placement:
Subwoofers are less directional than full-range speakers, but placement still matters for bass evenness. The corner of the room produces maximum output but often maximum boom. Experiment before committing: try the subwoofer in your seating position first, play bass-heavy content, then walk the room to find where the bass sounds most even. Put the subwoofer there.
Equipment rack:
Receivers generate heat. Rack placement needs clearance above and on the sides. Side-of-room or rear-of-room rack locations keep cables manageable and avoid visual clutter near the screen.
Step 4: Address Acoustics
Acoustics are the most under-invested area in most home theaters and the one with the highest return per dollar spent. A mediocre system in a well-treated room almost always sounds better than a high-end system in an untreated one.
Three core treatment types:
- Absorption panels: Fiberglass or rockwool panels wrapped in fabric absorb mid and high frequencies. Place them at first-reflection points: the wall to your left and right at the point where sound from the front speakers bounces toward your ears, and on the ceiling at the same reflection point. A listening test: have someone hold a mirror against the wall while you sit in the listening position. Wherever you can see a speaker reflected, that is a first-reflection point.
- Bass traps: Low frequencies build up in room corners because waves pile up there. Floor-to-ceiling bass traps in all four floor corners address the most problematic buildup. These are the most audible improvement you can make in an untreated room.
- Diffusion panels: Scattering surfaces on the rear wall prevent the "dead room" feeling of too much absorption. A rear-wall diffuser adds space and life without adding echo.
Minimum treatment for a dedicated room: Bass traps in all corners, absorption at first reflection points. Everything beyond that is incremental improvement.
Step 5: Select Equipment
Display:
- Projector (recommended for dedicated rooms): A 100 to 130-inch screen is physically and experientially different from even the largest TV. Short-throw and ultra-short-throw projectors work in smaller rooms or where ceiling mounting is not possible. 4K laser projectors have replaced bulb projectors as the standard for room-sized installs.
- TV: For rooms with ambient light or where the room serves dual purposes, a high-brightness QLED or OLED in the 75 to 85-inch range delivers excellent image quality without blackout requirements. OLEDs offer superior contrast; QLEDs win on brightness in lit rooms.
Audio receiver:
Match receiver channel count to your speaker configuration. Ensure Dolby Atmos and DTS:X decoding if you plan to use height channels. Check that the receiver has enough HDMI 2.1 inputs for your sources. A common mistake is buying a receiver with four HDMI inputs and then discovering you have five sources.
Speakers:
Match speaker efficiency to your room size. A large room with modest receivers benefits from more efficient speakers (90dB+ sensitivity). Brand matching within speaker lines is not mandatory but simplifies calibration.
Sources:
A 4K streaming device (Apple TV 4K or similar), a UHD Blu-ray player if you own physical media, and a game console if relevant. Keep this list lean. A dedicated media PC adds flexibility but also complexity.
Control:
For a single-room setup, a universal remote covers most needs. If you are integrating with home automation (Lutron lighting, automated shades, HVAC), a control system like Control4, Savant, or Crestron handles the coordination but requires professional programming.
Step 6: Wire and Install
Pre-wire if possible:
If walls are open during a remodel, run everything now. Speaker wire, HDMI runs, network drops, conduit for future cable paths. The cost difference between pre-wiring and cutting into finished drywall later is significant.
In-wall vs. exposed:
In-wall wiring looks clean and is the right choice for a dedicated theater. For multi-purpose rooms, in-wall is still preferred but requires more planning around furniture placement and speaker locations you may want to change later.
Cable runs:
- HDMI for video and audio to the display
- Speaker wire sized appropriately for run length (16 AWG for runs under 50 feet, 14 AWG for longer runs)
- Network drop at the rack location (wired Ethernet for streaming devices is more reliable than Wi-Fi in a room with thick walls or metal framing)
Power conditioning:
A power conditioner is not optional at this level of investment. Protect equipment from surges and reduce electrical noise in the audio chain. This is not the place to cut costs.
Step 7: Calibrate
Calibration is the final step that most homeowners skip and that makes more difference than most equipment upgrades.
Audio calibration:
Most modern receivers include automated calibration systems: Audyssey (found in Denon and Marantz receivers) or Dirac Live (found in higher-end receivers). Place the provided measurement microphone at your listening position and at several surrounding positions. The system measures speaker distances, levels, and room frequency response, then applies correction filters. Audyssey MultEQ XT32 and Dirac Live produce meaningfully better results than MultEQ or MultEQ XT. Run calibration after your room is fully furnished.
Video calibration:
Out-of-box settings on most displays are optimized for showroom brightness, not accuracy. For movie viewing: - Set picture mode to Cinema or Movie - Reduce backlight or brightness to a level comfortable for your room - Set contrast, color, and sharpness conservatively (factory sharpness settings often add artificial edge enhancement) - For the most accurate calibration, hire an ISF-certified calibrator who uses colorimeter measurements
Seating position:
After audio calibration, sit in your primary position with music or dialogue-heavy content and verify the soundstage feels centered on the screen. If dialogue pulls left or right, check center channel level and verify the center speaker is properly aimed toward the listening position.
When to Hire a Professional
A professional AV integrator makes sense when:
- Dolby Atmos with in-ceiling speakers: Ceiling speaker placement for Atmos involves measurement and calculation that free software tools handle only roughly. An integrator with Atmos design experience positions speakers for actual height imaging, not just compliance with the Dolby spec.
- Acoustic treatment design: For serious systems, room measurement software (REW or similar) combined with professional acoustic design produces better results than placement rules of thumb.
- In-wall speakers: Cutting into drywall, fishing wire through walls, and patching around speaker cutouts is more involved than it looks, especially in homes with spray foam insulation or metal-stud framing common in newer Bay Area construction.
- Automation integration: Connecting a home theater to lighting control, automated shades, and climate systems requires programming that is manufacturer-specific. DIY approaches exist but integration quality is rarely comparable to professional programming.
- You want it right once: The cost of a professional install is often less than the cost of doing it yourself twice.
For help finding qualified installers in the Bay Area, see our home theater installation directory. For guidance on evaluating integrators, read our guide on how to choose an AV integrator.
Related reading: home theater wiring guide and home theater vs. media room.
Back to the homepage for the full Bay Area home theater installer directory.